DIY Floor Lamp with LED Strips
Still a lamp or already a design object?
Lamps often come with a high price tag—so the question arises: Can
you save money by building one yourself? Truth be told: Not
necessarily. But many overlook this fact: DIY projects often use
much higher-quality components than cheap store-bought models. As
a result, a self-built floor lamp can easily match—or even
exceed—the quality of a commercial one, which also extends its
lifespan. Low-cost LEDs often only last 2–3 years, whereas
high-quality LED strips can theoretically last for decades.
Safety first!
Before you begin, a crucial note:
Working with electricity quickly becomes dangerous. Around 50 V
AC, an electric shock can already cause serious harm—and home
outlets deliver 230 V. Therefore: Any work on mains voltage must
be done exclusively by someone with proper professional
qualifications!
HEEY this is a secret text that no one using mobile devices can see :P
“Am I acting out of conviction—or out of habit?”
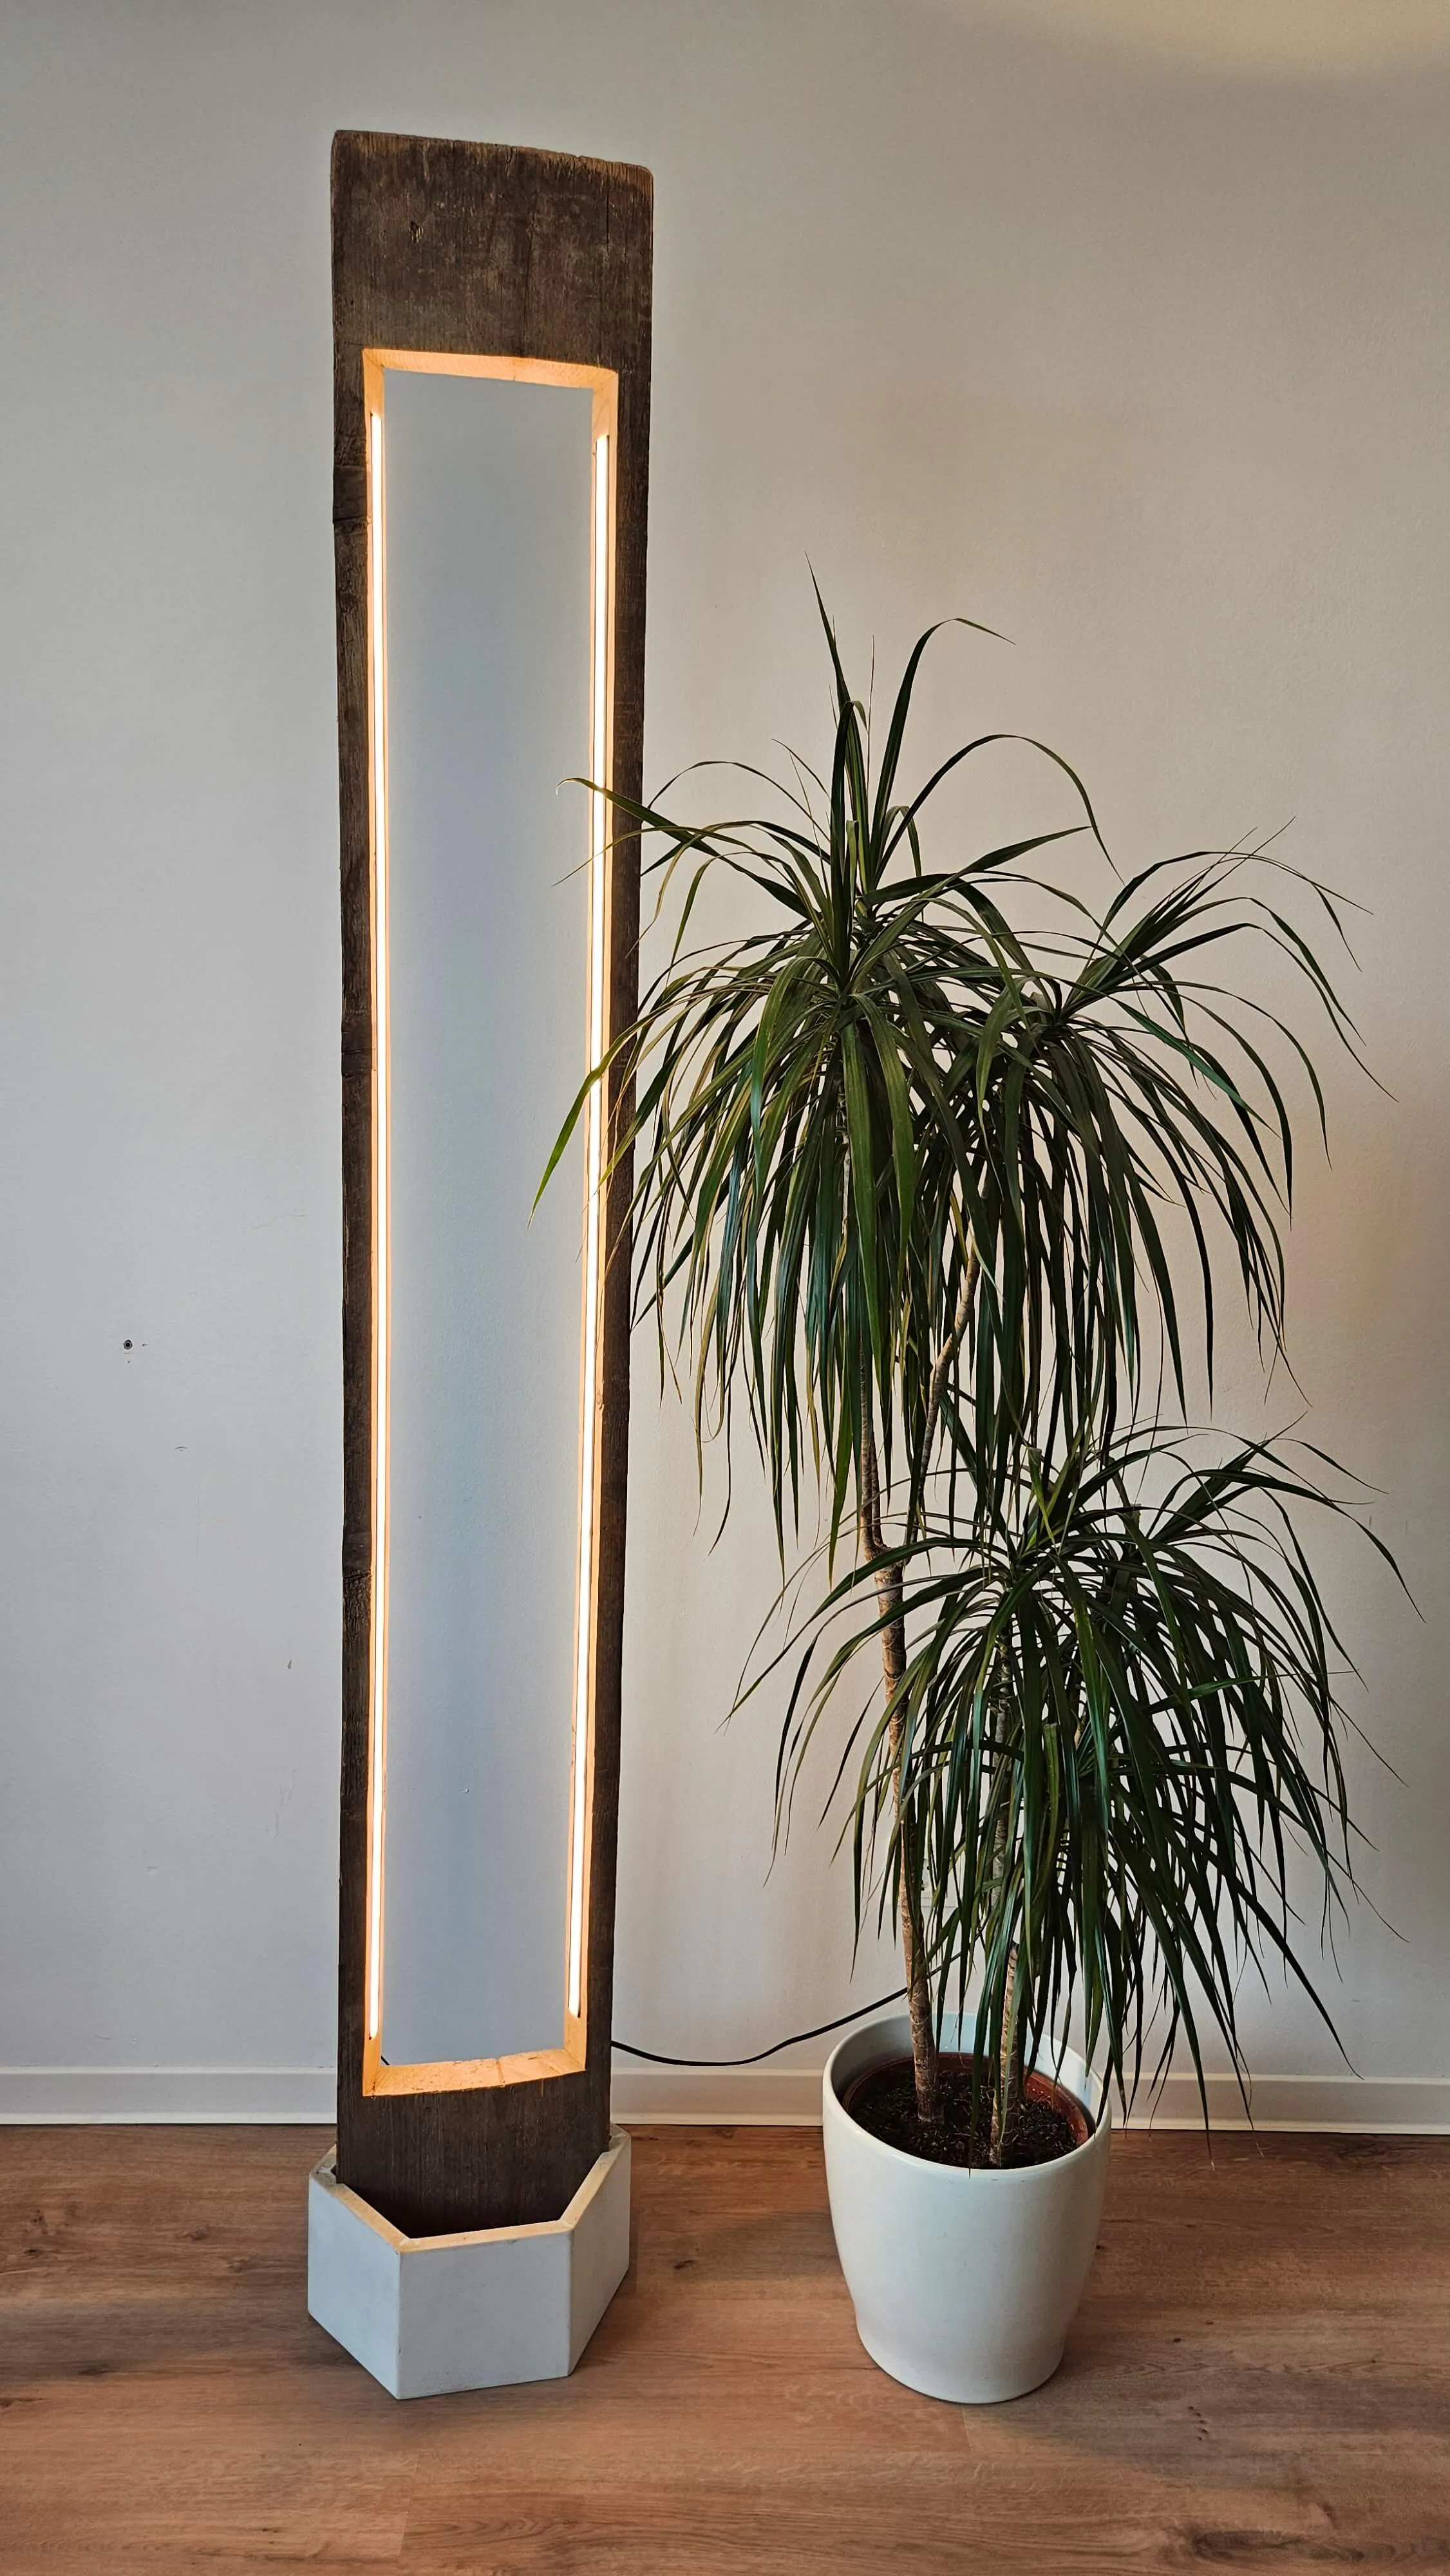
DIY Floor Lamp from an Old Scaffolding Plank—Here’s How
The Basic Frame
The base of my lamp is an old scaffolding plank. I was lucky: no dirt, no stains—just a beautiful, weathered look. Even a used plank has its own unique charm and character.
Step 1: Remove the End Caps
First, cut off the two mounting ends of the plank. Then comes the trickiest part: how to cut a clean opening for the LED lighting right in the center?
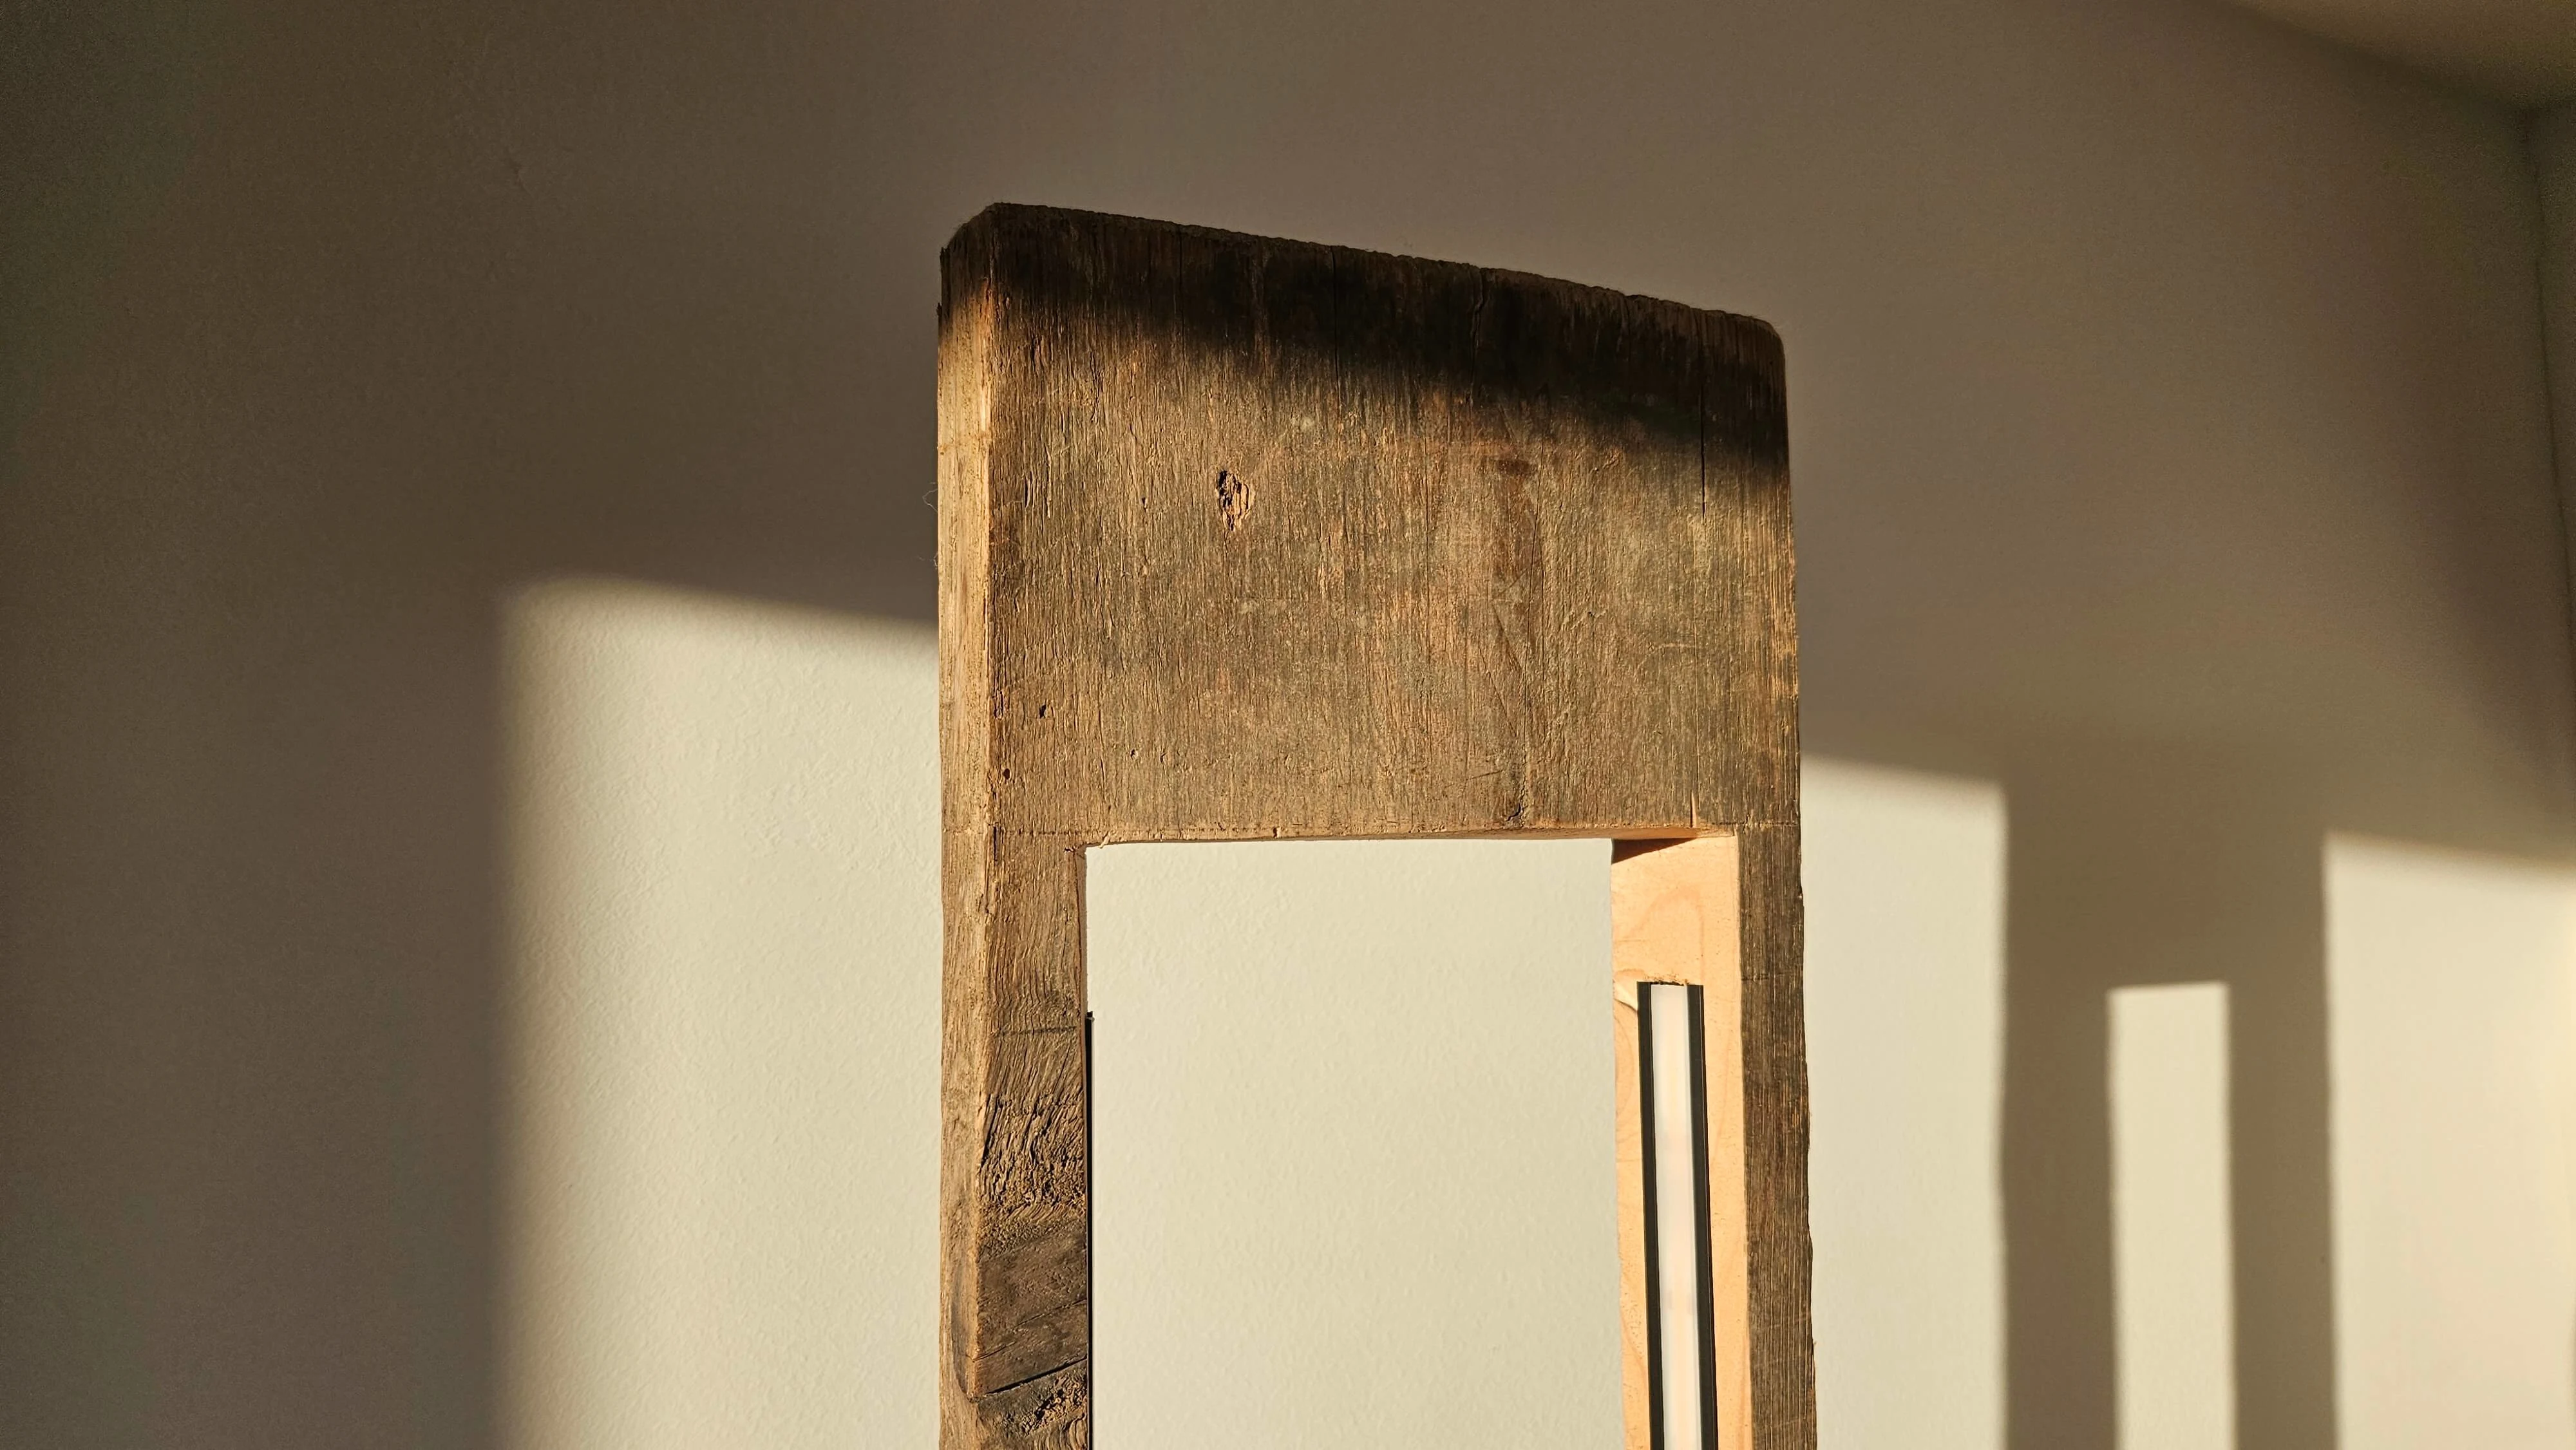
Step 2: The Central Opening
There are certainly more professional methods than mine, but it
worked!
First, mark out the opening in the center (mine
measures 160 cm × 20 cm). Then set the saw angle—a slight angle
(at least 10–15 degrees) is advisable so that the light doesn’t
shine too flatly but instead casts a pleasing glow into the room.
This angle is also necessary for routing the LED channel.
I
made the cut using a table saw—risky but doable. A plunge saw or a
circular saw with an adjustable angle would be more suitable.
Note: The blade is round, so the beginning and end of the cut
automatically form curves. Therefore: measure the blade’s radius
and leave at least half a blade’s width between your end mark and
the cut line.
If you want the LED strips to tilt toward each
other (rather than away), you must make the cuts with opposite
angles.
Step 3: Remove the Middle Section
After making the two lengthwise cuts, it’s time for fine work: removing the middle piece. I used a jigsaw, gradually repositioning it until both sides were straight. Make sure not to cut into the angled edges! I trimmed those with a handsaw afterward. For especially clean edges, use a chisel.
Step 4: Embed the LED Profiles
Now it’s time for the LED profiles. I recommend buying a matching aluminum profile in advance—e.g., from LED-Konzept. They provide a technical drawing with width and depth, which you need for your routing. This step can only be done with a router. Tip: Practice first on a scrap piece of wood! The profile usually has some tolerance, but it should still fit snugly. If not, glue it in place.
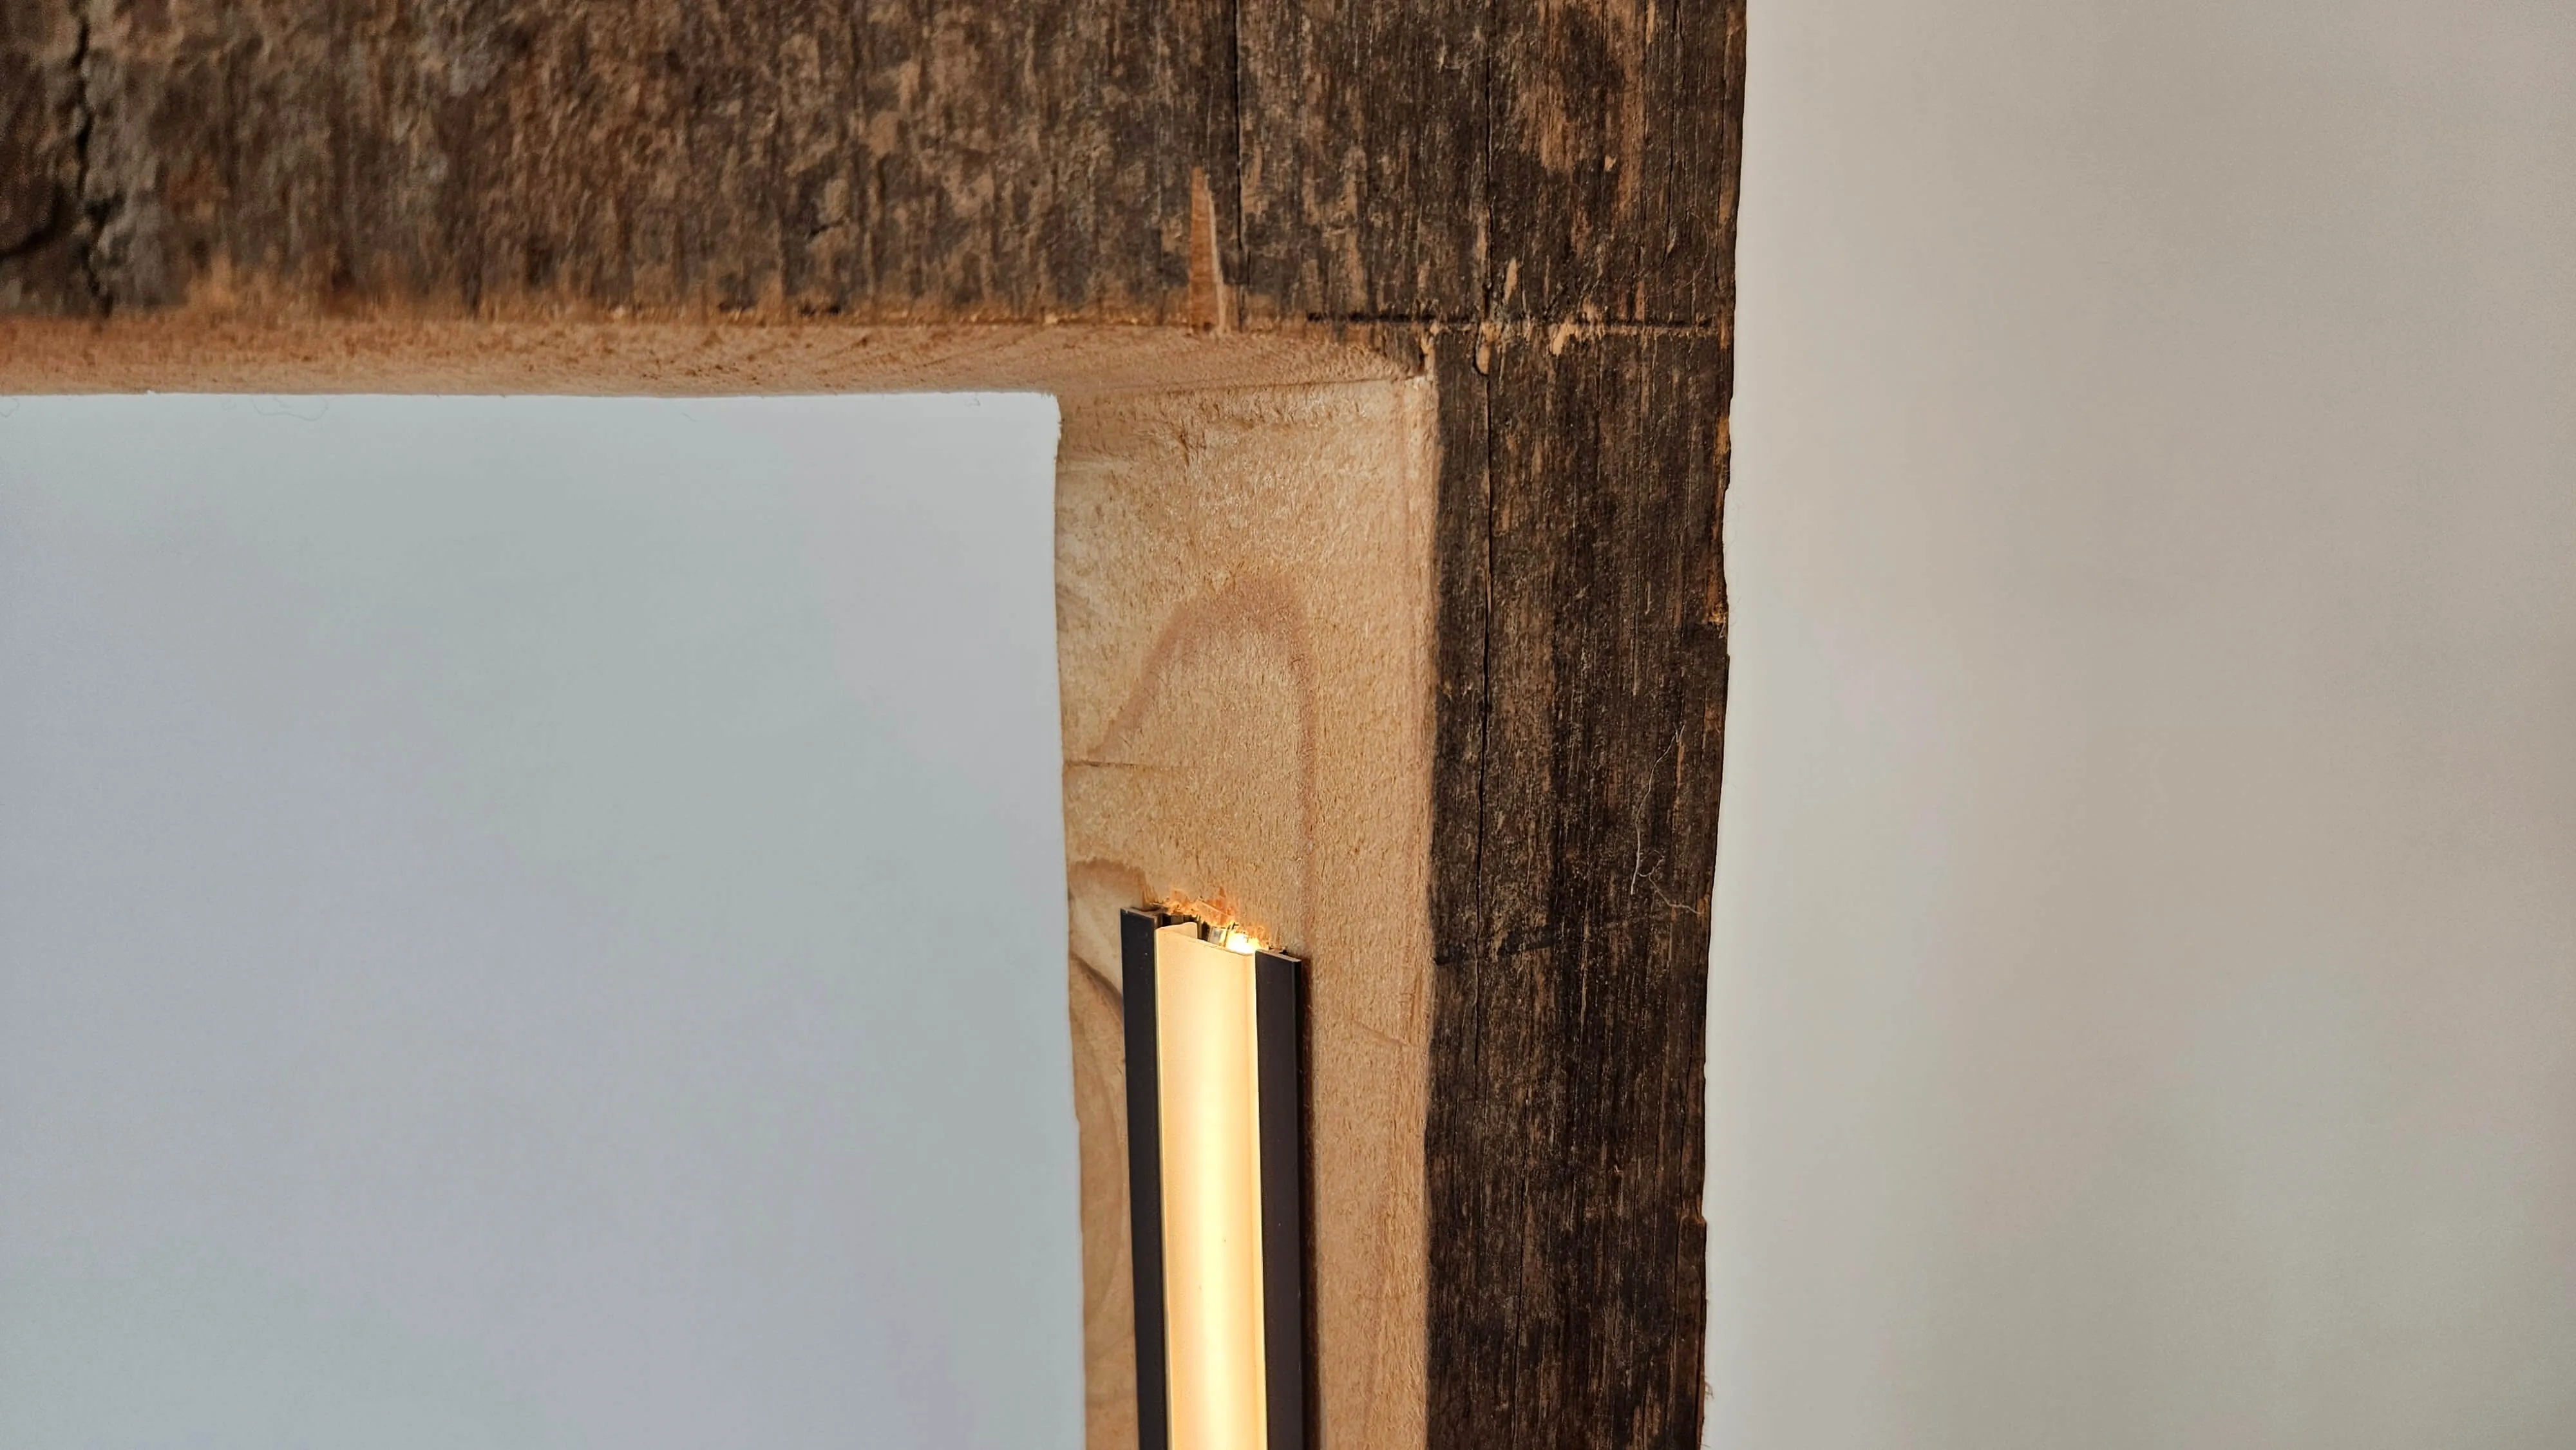
Step 5: Routing the Wires
You can’t make the wiring completely invisible with this design. I simply drilled diagonally through the profile so that the cable exits at the back of the lamp.
Step 6: LED Strips & Power Supply
The LED strips should be slightly shorter than the profile—you need space to solder or connect the wires. Since we’re working with only 24 V DC, thin wires (e.g., 0.5 mm²) are sufficient. But be careful: household outlets supply 230 V, so you need a power supply unit that converts 230 V to 24 V. 💡 When choosing a power supply: pay attention to the power consumption per meter (W/m) specified by the LED-strip manufacturer. Calculate accordingly, and if in doubt, choose a power supply with a bit more output rather than too little. You can use Wago connectors for all electrical connections—quick, safe, and solder-free.
Step 7: Smart Control (Optional)
Want to dim your lamp or control it via an app? Then install a Zigbee switch module behind the power supply. Requirement: a Zigbee hub, e.g., a Philips Hue Bridge. More on that in a dedicated post.
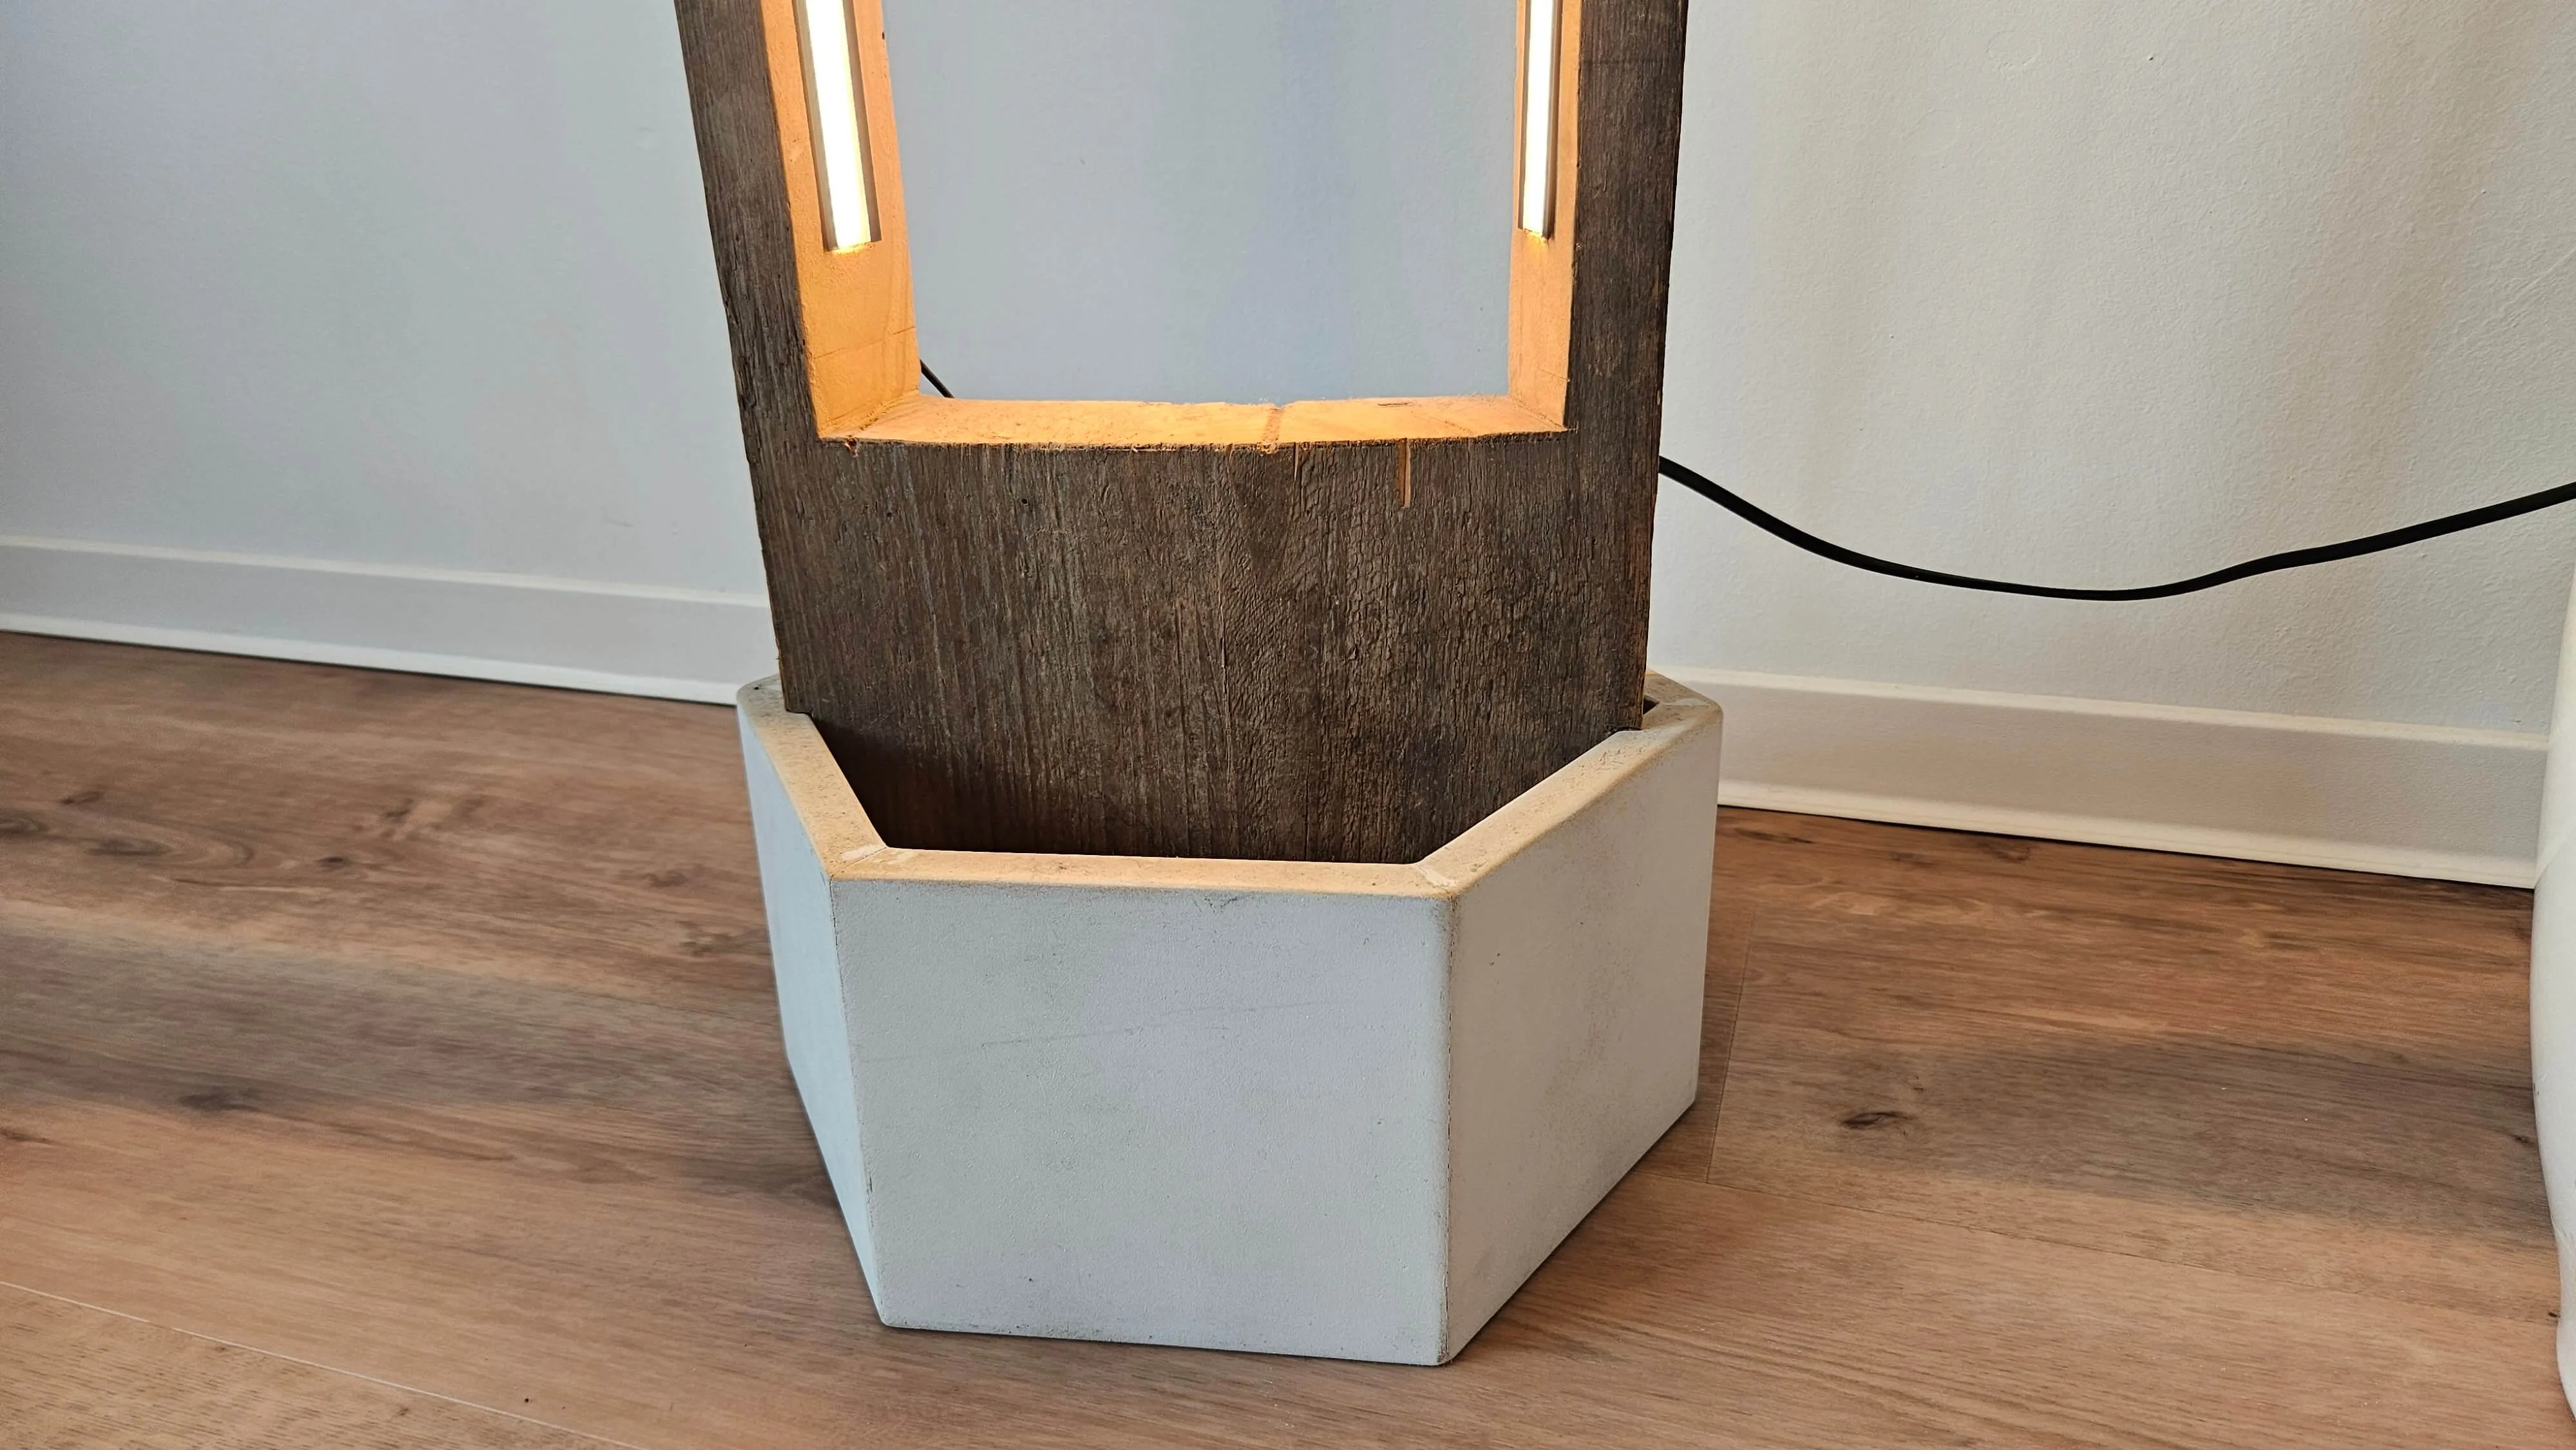
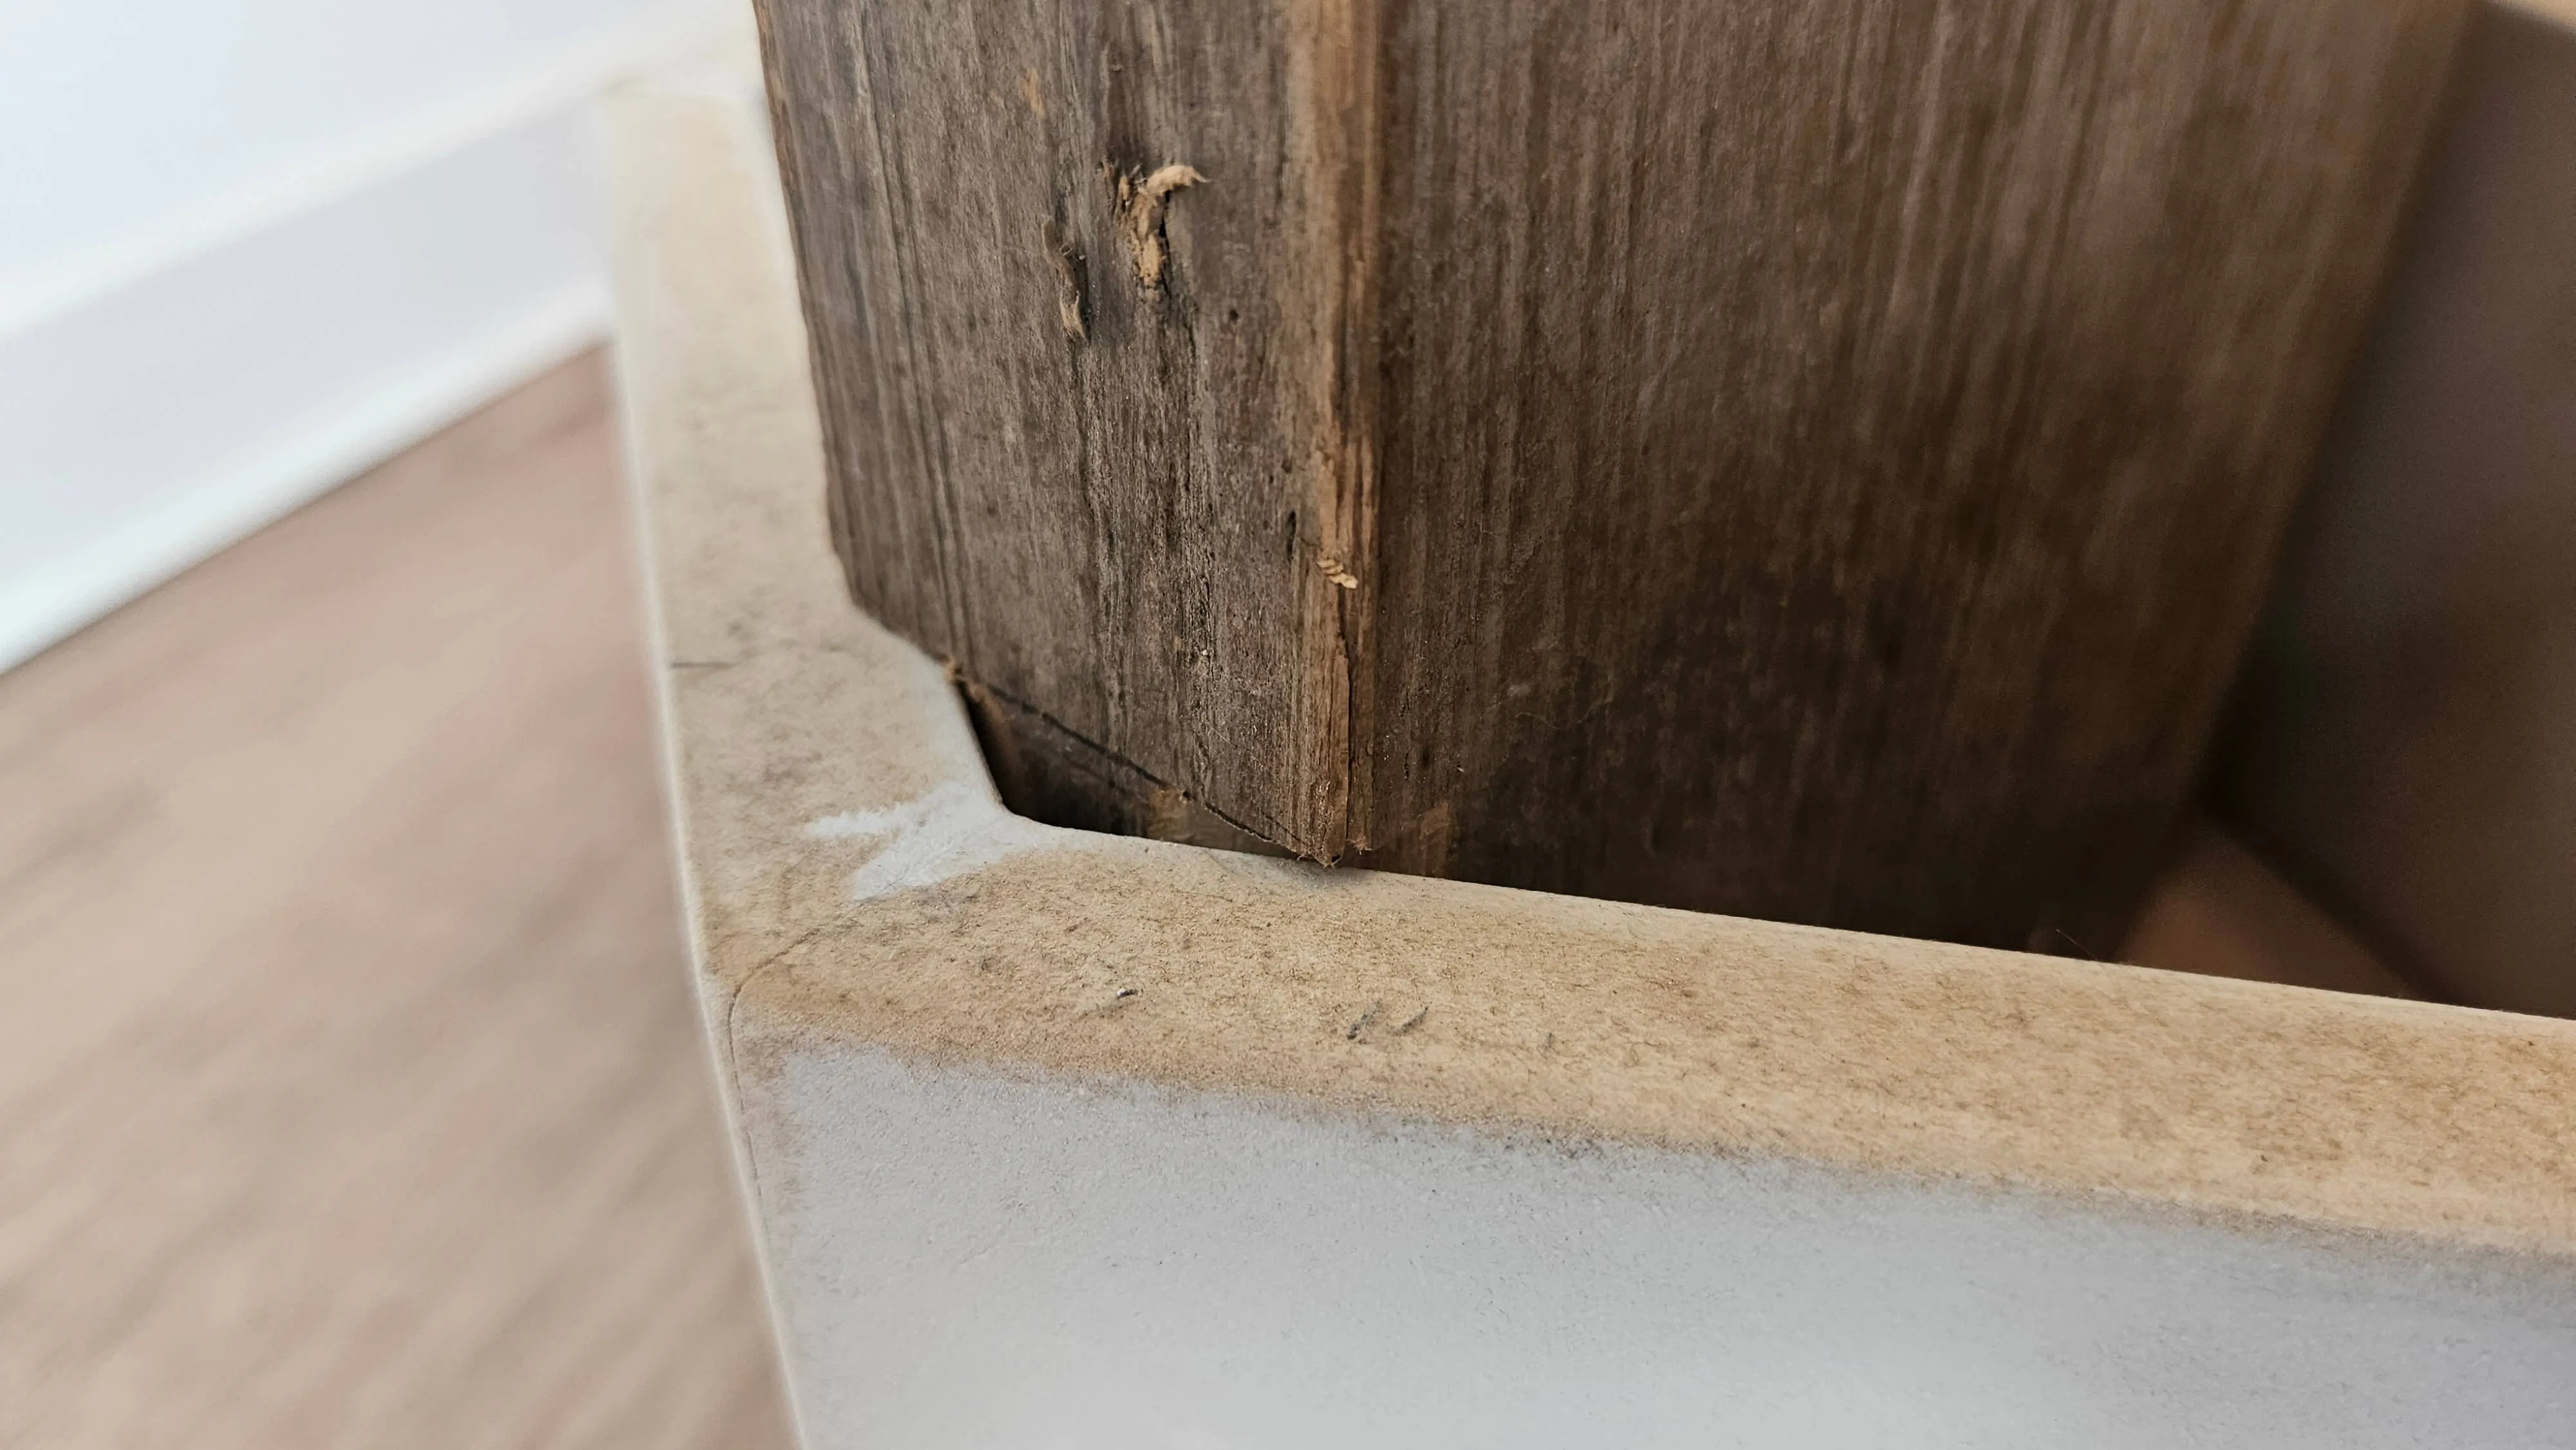
Step 8: The Lamp Base
You can elegantly hide all technical components in the base of the lamp. I chose a hexagon—simply because I’ve always wanted to build one. The important part: the distance from one corner to the opposite inside corner must match the width of your scaffolding plank. Trim or sand the edges as needed so that the plank fits snugly into the base.
Conclusion
This lamp was not a five-minute project—but it was worth it. It’s a one-of-a-kind piece, stylish, functional, and smarter than many expensive designer lamps. Want to create something personal? Then get to your workbench!