The Shower Mirror
Shaving hair in the sink – what to do?
Shaving is something many people deal with all their lives.
Especially men have it a bit more complicated: while shaving legs
is quite easy to see, in the face it’s almost impossible without a
mirror.
That’s why most men shave classically at the sink – looking into
the bathroom mirror. But many beard hairs end up around the sink.
The result: hair everywhere. Now what? Pick it all up with
tweezers? Get the vacuum cleaner? Or wash the whole bathroom with
a garden hose? Hardly.
The solution: Shaving in the shower
Luckily, there’s a simple and practical solution: Move shaving to
where the hair can be rinsed away immediately – into the shower!
Especially with wet shaving, this has many advantages.
For that, however, you need a mirror in the shower – and that’s
where the shower mirror comes in. Sounds unusual perhaps, but it’s
a system that has worked perfectly for me for over five years.
A little tip on the side: Mirrors tend to fog up quickly when heat
and water meet. A simple trick helps – just rub a bit of shampoo
onto the mirror, spread it evenly, and it will stay clear.
HEEY this is a secret text that all the people with their mobile devices won’t even see :P
“Am I acting out of conviction – or just out of habit?”
What do you need for it?
Basically only two things:
A mirror
A waterproof adhesive
I chose a mirror made of acrylic glass. Compared to real glass, it
may reflect a bit “wavy” since it’s more flexible and can deform
slightly – but it serves its purpose perfectly.
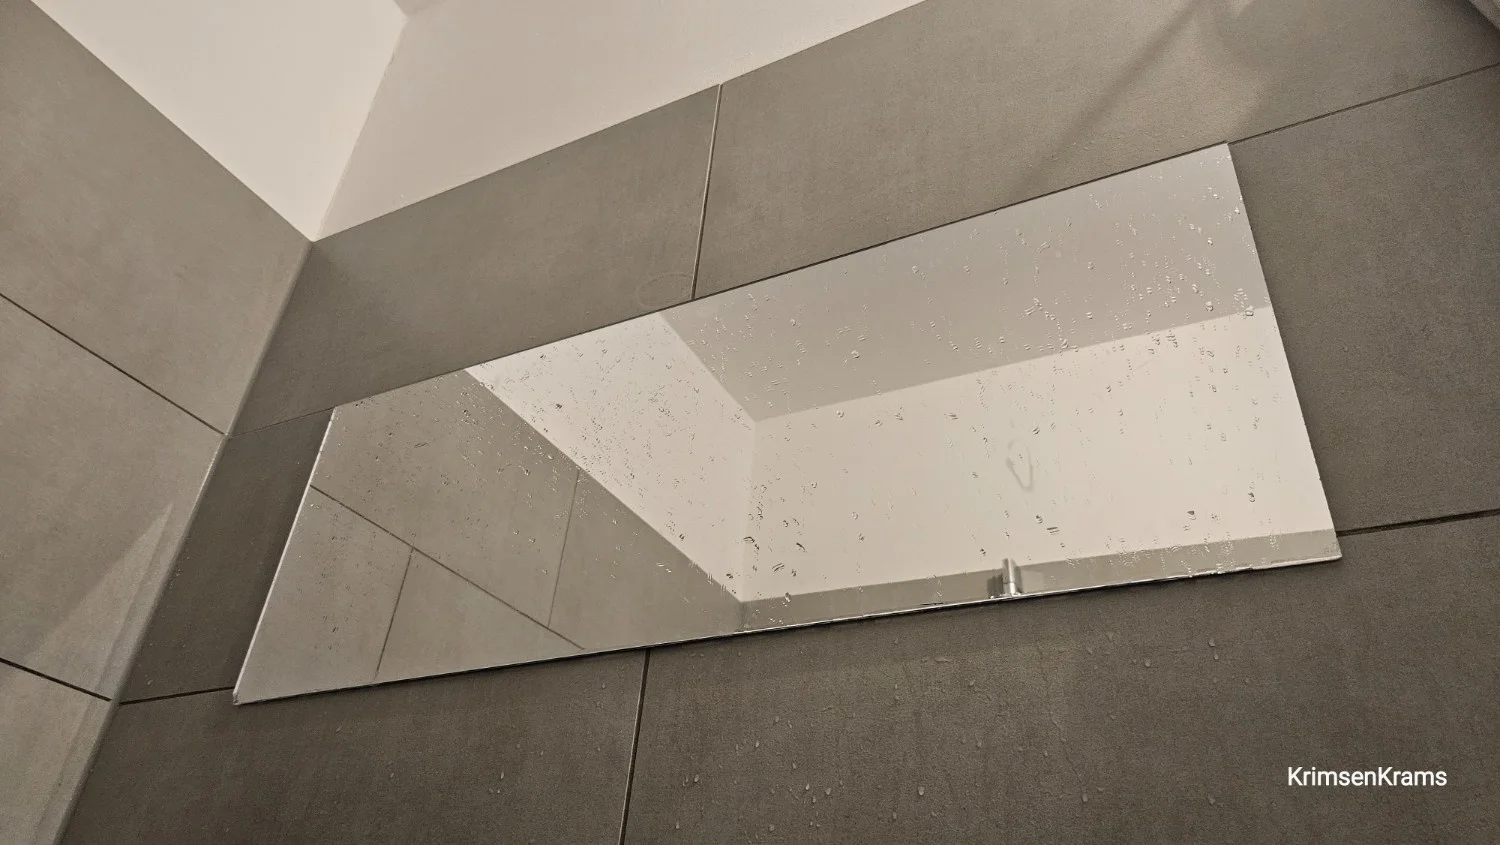
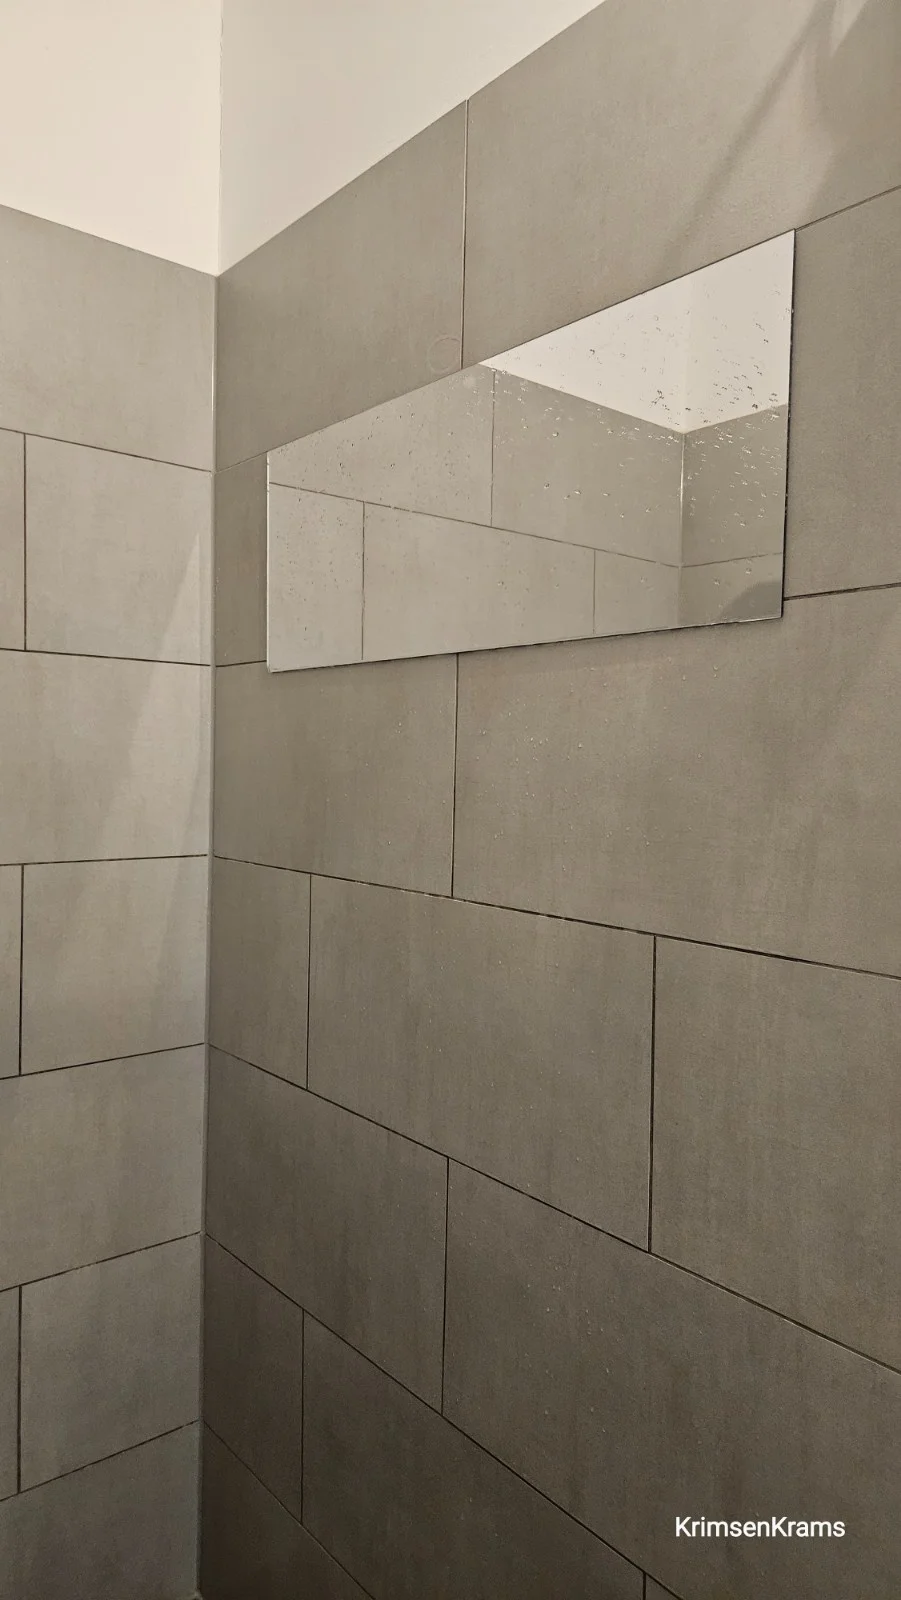
In our shower, a strip about 1 meter wide and 40 cm high hangs at
head height. If you want to see your whole body, of course you can
mount the mirror floor to ceiling.
The right adhesive
The bigger challenge was finding the right adhesive. Many manufacturers only give vague information about water resistance. I finally decided on the special adhesive OTTOCOLL® M 500. Perhaps it comes from Pippi Longstocking’s Konrad’s Special Glue – because it sticks just as well.
How to mount the mirror
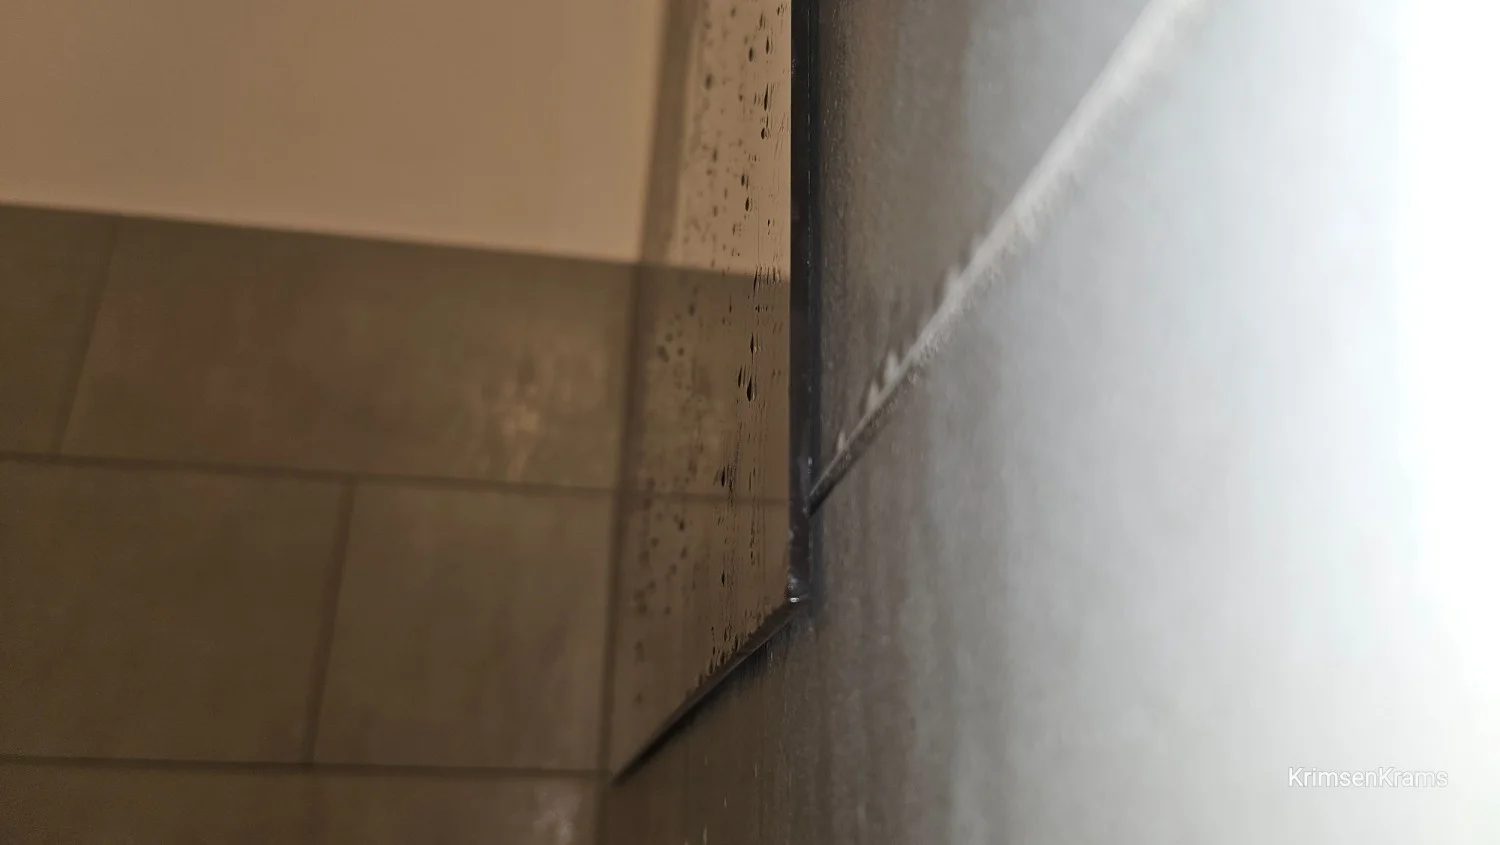
Since the adhesive needs air to cure, small spacers (about 3 mm
thick) must be placed between the mirror and the wall. It’s best
to fix these with adhesive tape – but be careful: only place it
where you can later remove it easily, because the spacers have to
be taken out after curing.
Then apply the adhesive in vertical stripes (about every 15 cm),
hold the mirror to the wall, align it and fix it again with tape.
Now wait about 24 hours – ideally in